Haida Clear Night Filter Review
by JON CHIANG PHOTOGRAPHY
Ever since Haida became available locally and my initial comparisons with their first generational filters against their Lee and Hitech counterparts, I've replaced usual kit with Haida filters due to their neutral colour cast and superior optical characteristics. Haida has since released Nanopro replacements to the original popular series of full neutral density filters in the 100mm and the 150mm ranges, and improved on the originals by reducing the residual colour cast they had and completely eliminating any vignetting the originals caused.
Even though I've received the filter for review, Haida's stellar performance in their other product lineups gave me high expectations of their recently-released Clear Night Nanopro. Both the 100mm and the 150mm Clear Night filters come in the now familiar metal tin padded case, reminiscent of the ones Lee ships their neutral density filters in. Like the other Nanopro filters, the new coating helps to repel oil and water, keeping the filter free of grime, and prevents flare caused by internal reflections/strong light sources.
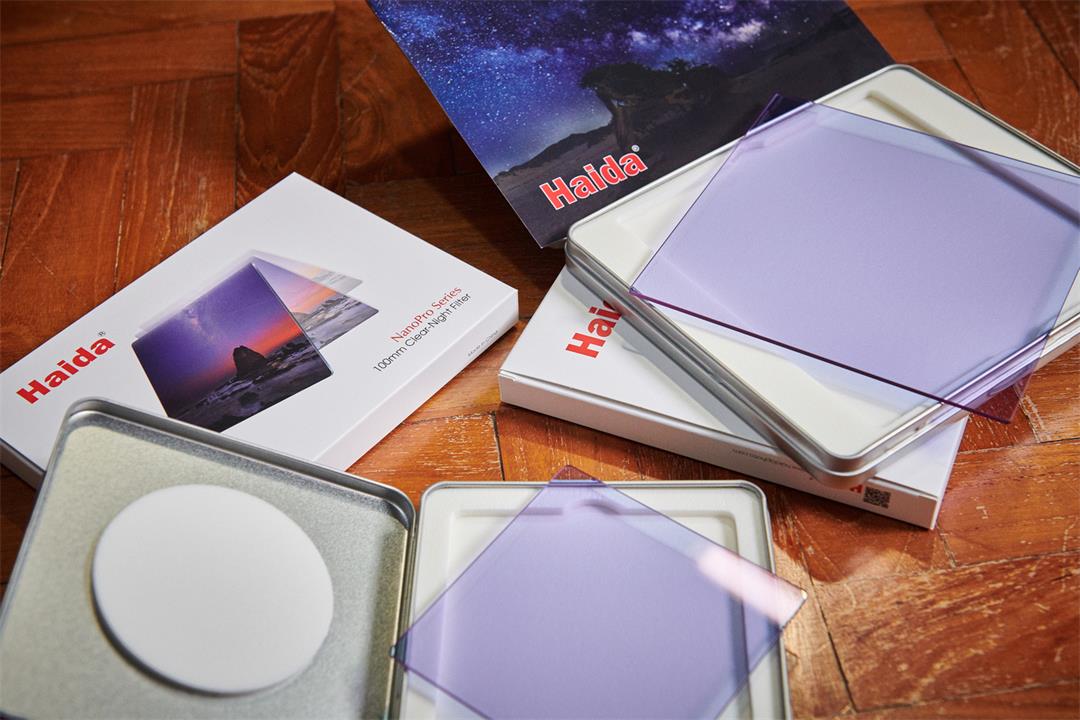
Haida Clear Night filters in 100mm and 150mm dimensions
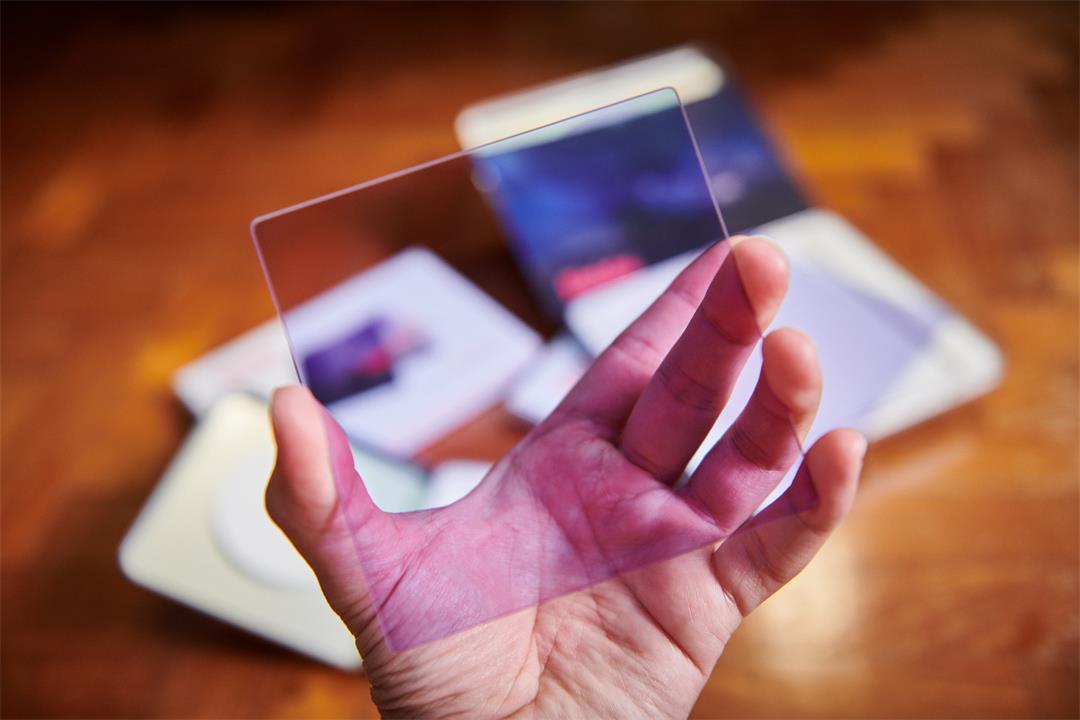
The filters have an unmistakable glossy finish and purplish-blue tint to them
Price Comparisons
Being a specialised filter, the Clear Night filters cost more than their regular Nanopro counterparts. However, they are much cheaper than Nisi's similar Natural Night filters. I did not have the chance to test and compare both Haida and Nisi variants, but I would wager that the Haida ones are as good as the Nisi filters for less than their asking price.
Haida Clear Night 100mm | Nisi Natural Night 100mm |
US$136 (B&H) | US$194.99 (B&H) |
Haida Clear Night 150mm | Nisi Natural Night 150mm |
US$216 (B&H) | US$264.99 (B&H) |
Image Comparisons
Being an architecture and urban landscape photographer involves shooting a lot of night scenes in addition to the standard golden hour shots, so I was curious as to how the Clear Night would improve on my image output. The filter works by cutting out certain frequencies of yellow light that is normally emitted from sodium-vapour street lamps and similar sources of light, thus reducing or eliminating heavy light pollution from artificial light sources, which are plentiful in a busy city like Singapore. As I am currently based here, the filter should theoretically help me clean up light pollution and cut down a bit of flaring caused by strong yellowish light sources, which become very prominent when it gets dark.
Ideally, the filter should improve results when applied in fields like cityscape night photography and astrophotography. I took to putting the Clear Night 150mm filter through its paces as soon as I received it, and the images shown here are taken on my Nikon D850 and the Nikon 14-24mm lens with the Haida 150mm filter holder, unless otherwise specified.
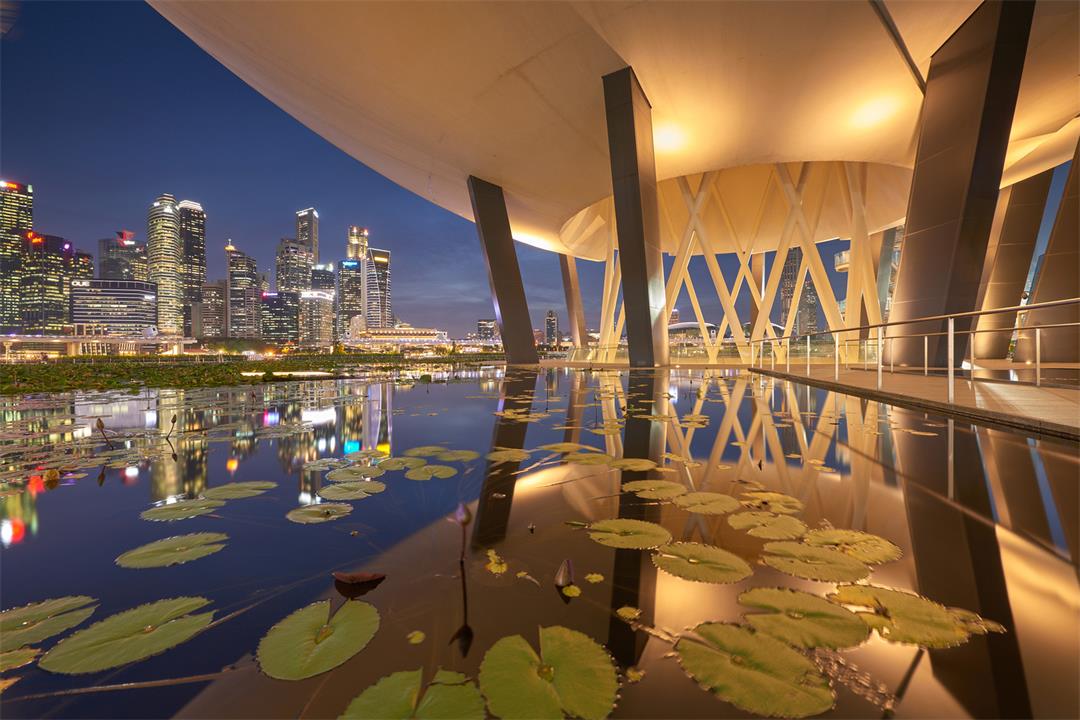
Without filter
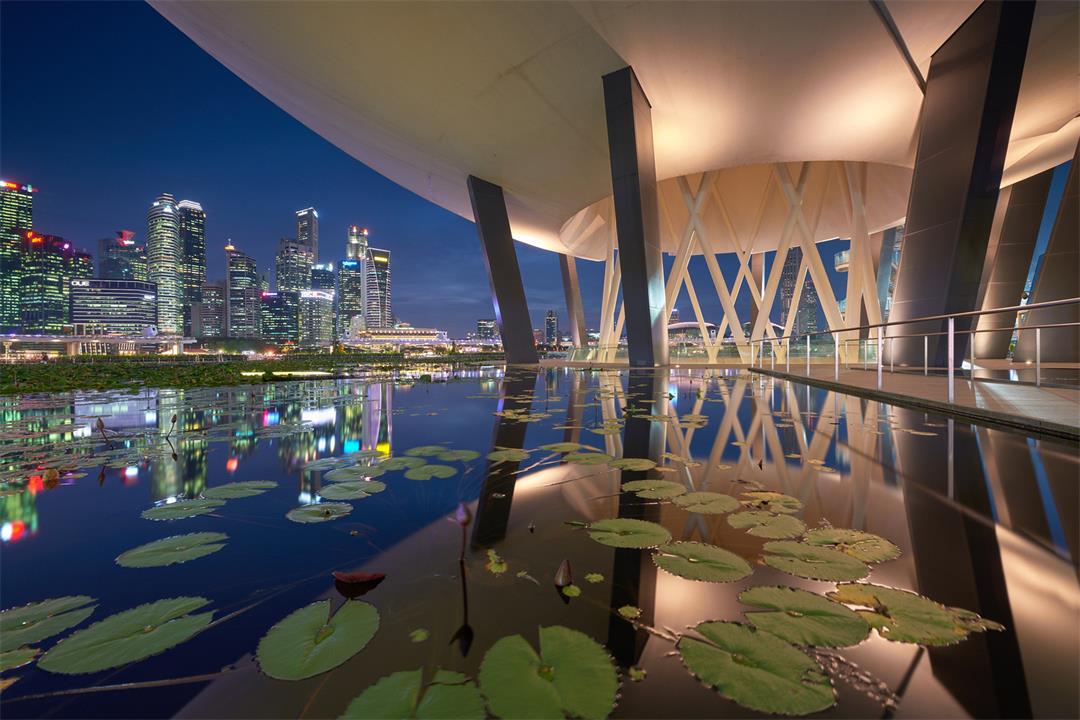
With Haida Clear Night filter
From the comparison shots above, it is evident that the strong yellow light source has been significantly reduced. This exact scene at the ArtScience Museum has a strong yellow glow from the spotlights, and the filter did a good job at rendering a very natural look right out of the camera. The only tweaks I used was the auto white balance in manual mode, and some contrast in post for the above shots.
Because it cuts down so much yellow light, the filter ends up shifting the colour balance towards magenta/blue. This is easily correctable if you so choose but I decided to leave it in as I tend to go for a cooler rendition for my night shots. With the Clear Night, more colours that are usually overwhelmed by the yellow glow of city lights can be revealed as well. Due to this effect, the filter cuts down about half a stop of light, so you could either adjust accordingly on camera or in post, but this is a rather negligible issue.
The filter also helped to cut a bit of flaring caused by these yellow light sources. If you scroll up to the image of ArtScience Museum above taken without the Clear Night, there is a bit of flare at the top-left corner. The flare is gone in the shot with the filter attached.
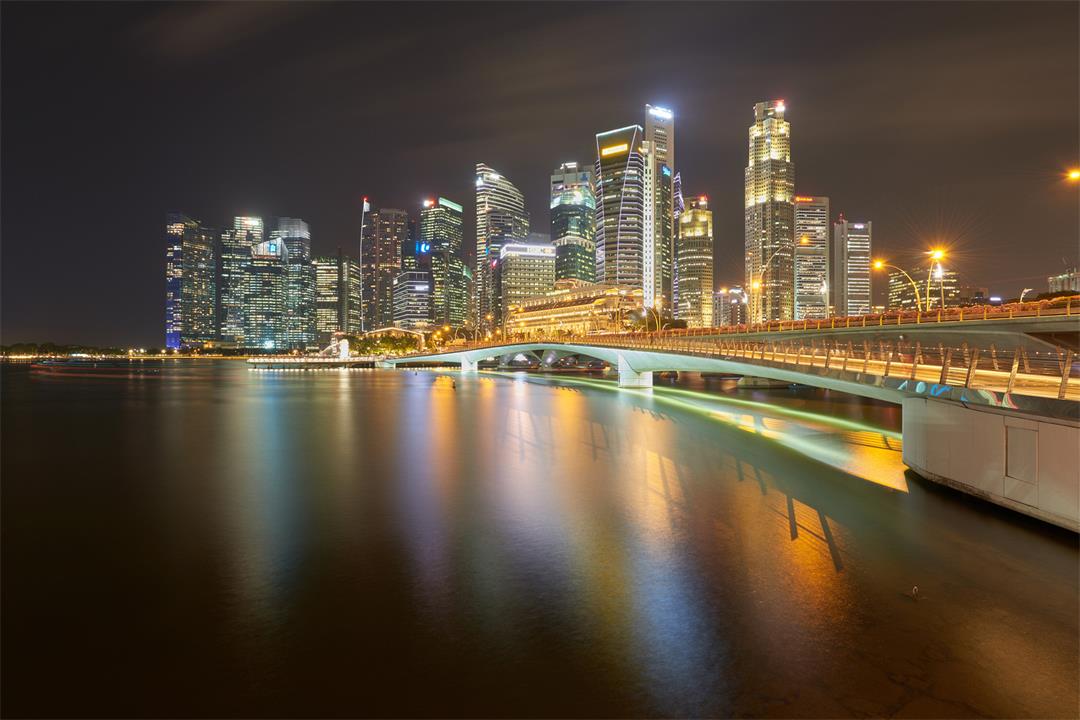
Without filter
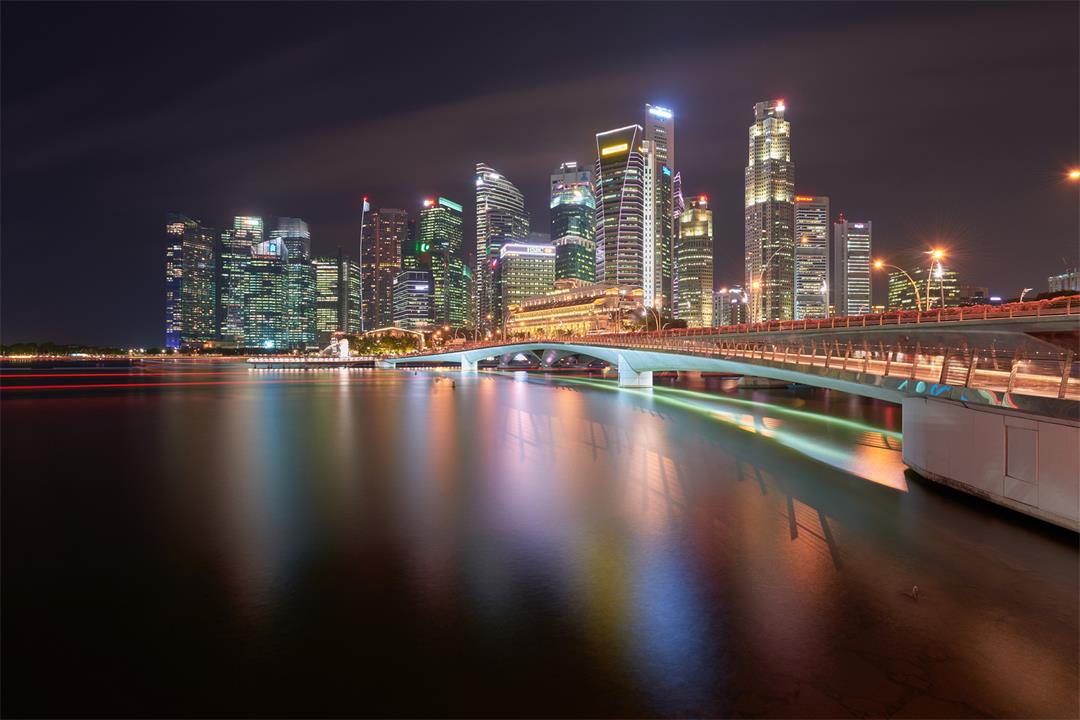
With Haida Clear Night filter
From the long exposure shots above, you can see the shift from yellow-green to magenta-blue when the filter is applied. The other colours from light sources not cut out from the filter are more intense and richer as well. This can be useful for photographers who prefer not to tweak their shots too much and want a natural-looking output.
White Balance Matching
I tried to match the white balances to see the effect of the filter when a neutral target spot is picked from both a shot without the Clear Night and a shot with the filter attached. As can be seen below, the filter's blue tint can be removed in post, and it retains the colours not affected by the filtration. Only strong yellow light sources are affected, and will turn magenta/orange (natural teal and orange filter anyone?).
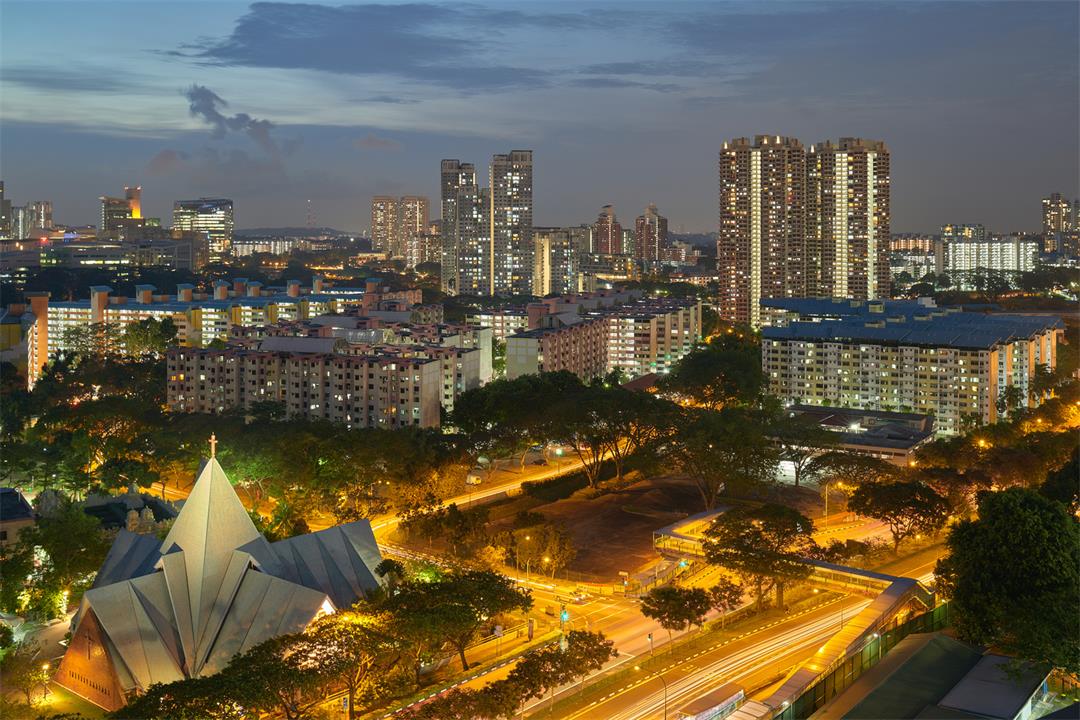
Without filter
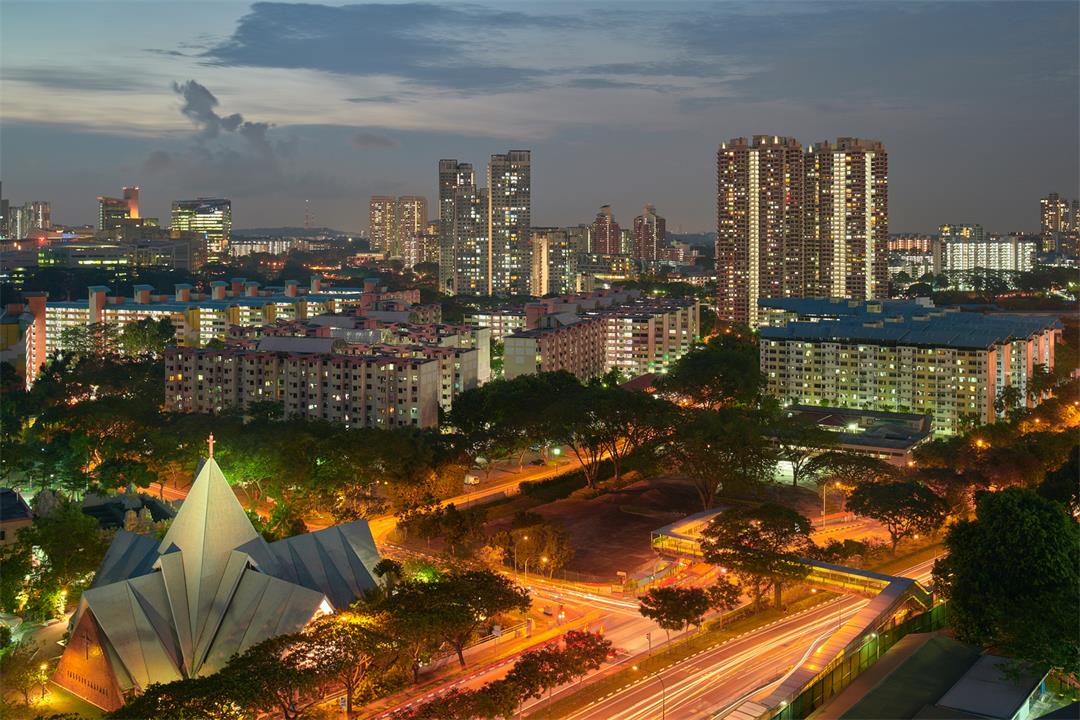
With Haida Clear Night filter
Flare
Although the filter doesn't prevent flare, it cuts down the impact of flare caused by yellow light sources, making such flares less jarring. However, if your lens is very prone to flaring like the Nikon 14-24mm, the flare will still occur but it will be less noticeable. It's also good to note that installing the filter does not create additional flaring issues, thanks to its inclusion of a Nano antireflective filter coating.
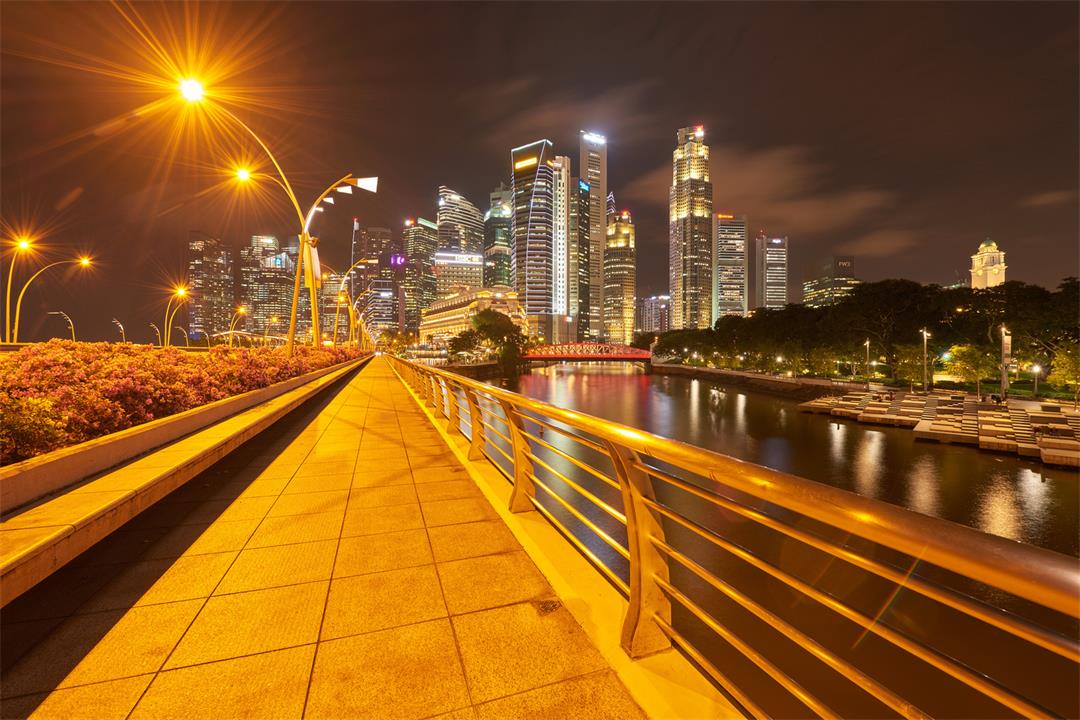
Without filter
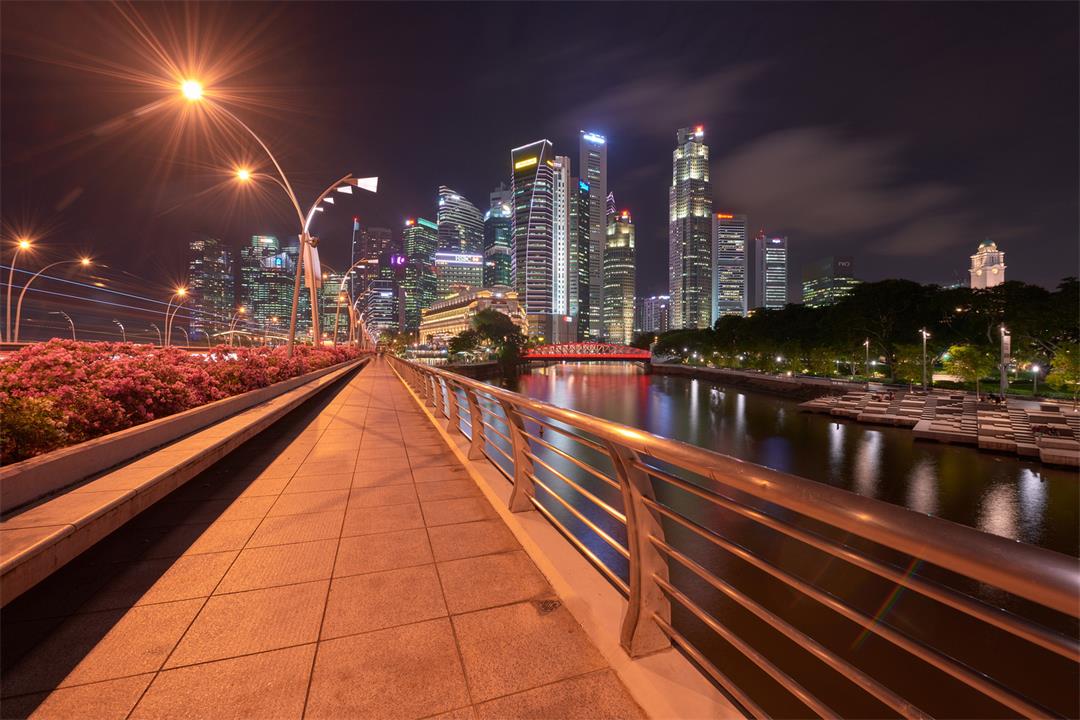
With Haida Clear Night filter
As usual, the colours that were once washed-out because of the strong yellow cast caused by artificial lighting are more prominent thanks to the Clear Night filter.
Resolution Comparisons
The filter also does not degrade image quality, and actually seems to improve apparent sharpness by getting rid of the excess yellow light bleeding and ghosting around the edges of brightly-lit subjects. Take a look at The Fullerton Hotel's lettering in the crops with and without the filter, and you can find that you can make out more of the words in the shot taken with the Clear Night.
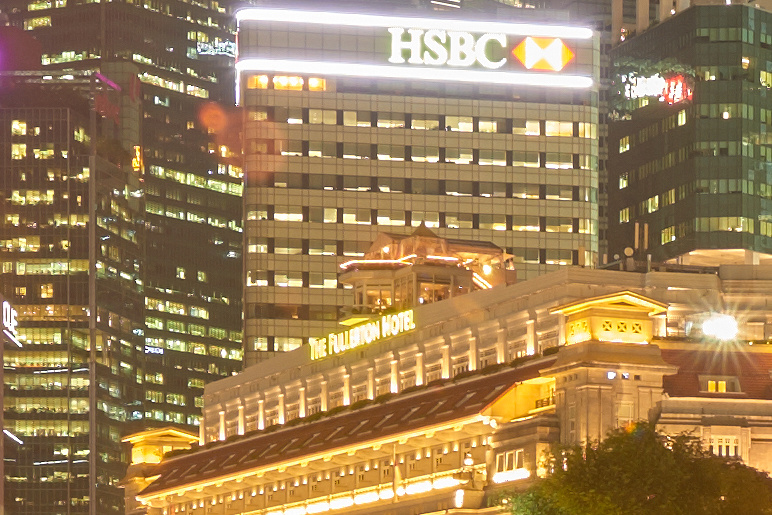
Without filter
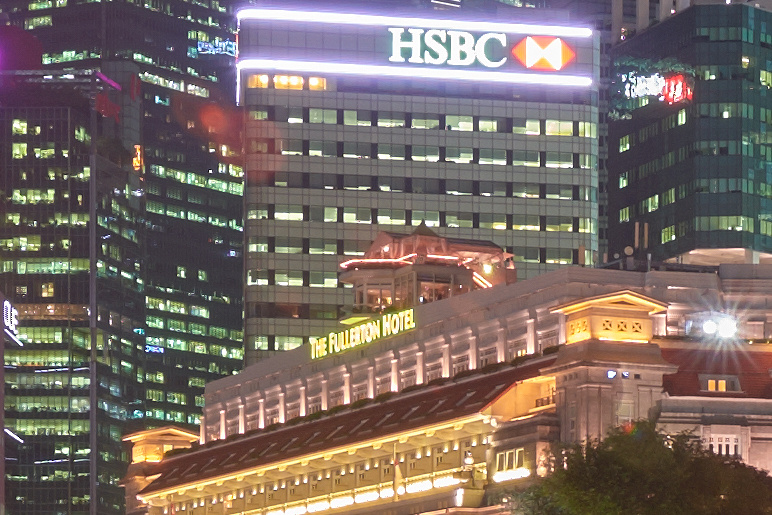
With Haida Clear Night filter
Use on Fireworks
With the number of city-wide celebratory events in Singapore (New Year's Day, Chinese New Year, National Day, etc.), fireworks are quite a common occurrence happening every few months or so, making them a popular subject with cityscape photographers. Curious about the effects of the Clear Night filter on them, I decided to photograph some National Day fireworks from Marina Bay.
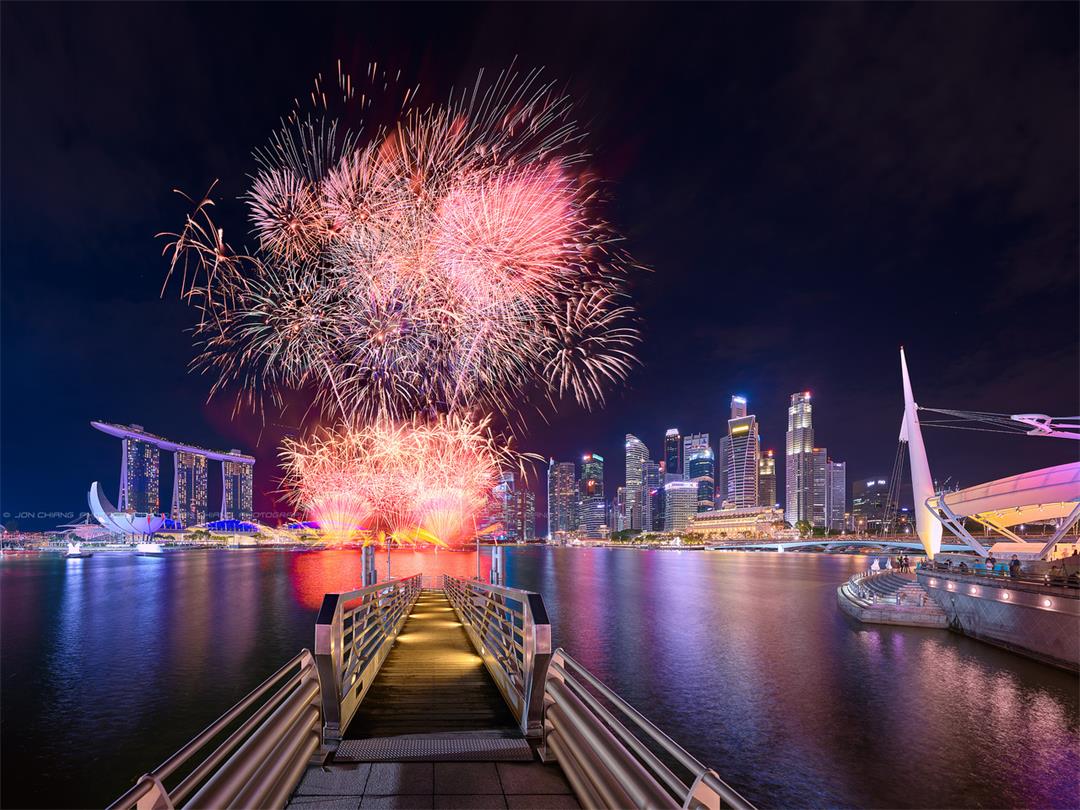
Multiple-row panorama with Haida Clear Night filter on the Nikon 14-24mm, with fireworks shot at bulb mode separately from the cityscape
It's good to note that the Clear Night filter cuts down on the yellow hues exhibited by sodium-vapour lamps, while leaving the vibrant colours of the fireworks and surrounding city lights intact. As such, it can be used to enhance light shows and fireworks.
Concluding Remarks
So, is it possible to reproduce these results with post-processing techniques in your favourite image editing software? Well, you could tweak the white balance to make your night shots look more natural, but there is so much one can do to cut flare caused by street lights in post. The Clear Night definitely produces a more contrasty and punchier result right off the bat, and makes your nightscapes quite a bit more vibrant without much post work.
It's definitely not just a mere white-balance correcting filter, but quite a useful tool to have to aid night-time photographers get more pleasing results in camera. I'll be looking forward to testing it for some star trail and astrophotography in heavily light-polluted Singapore, and am keen to find out if it cuts down on the effort required to capture the Milky Way here.
To purchase these filters, visit PhotosphereSG for Singapore-based orders, or visit Haida for more information on their filters and where you can buy them.
Sample Image Gallery
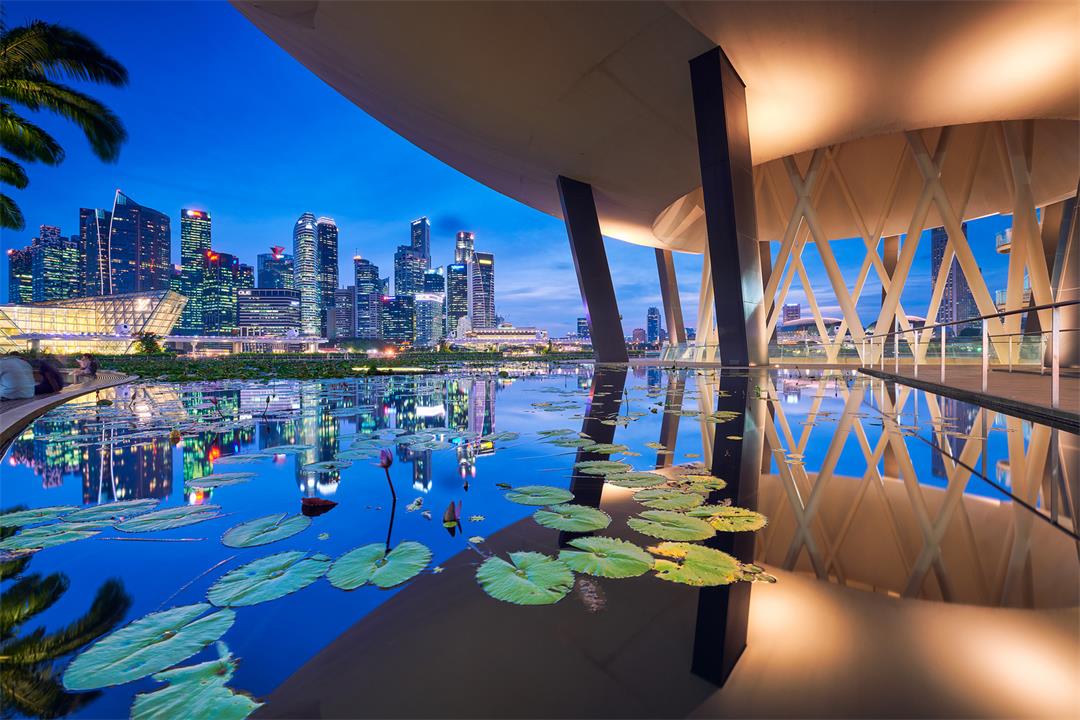
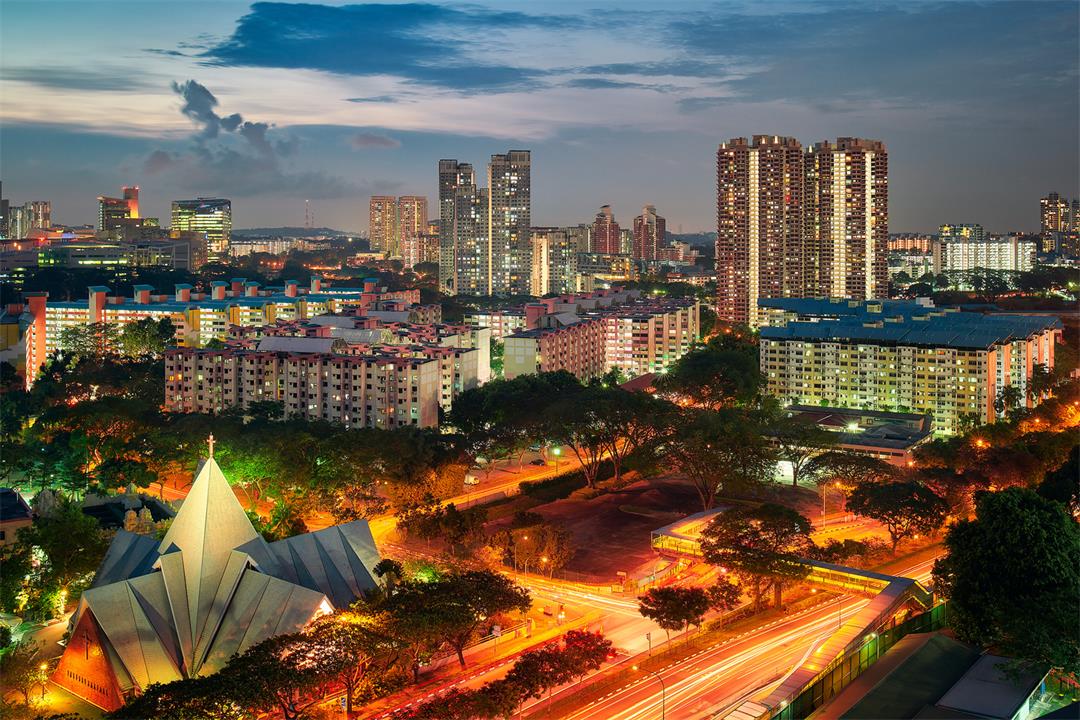
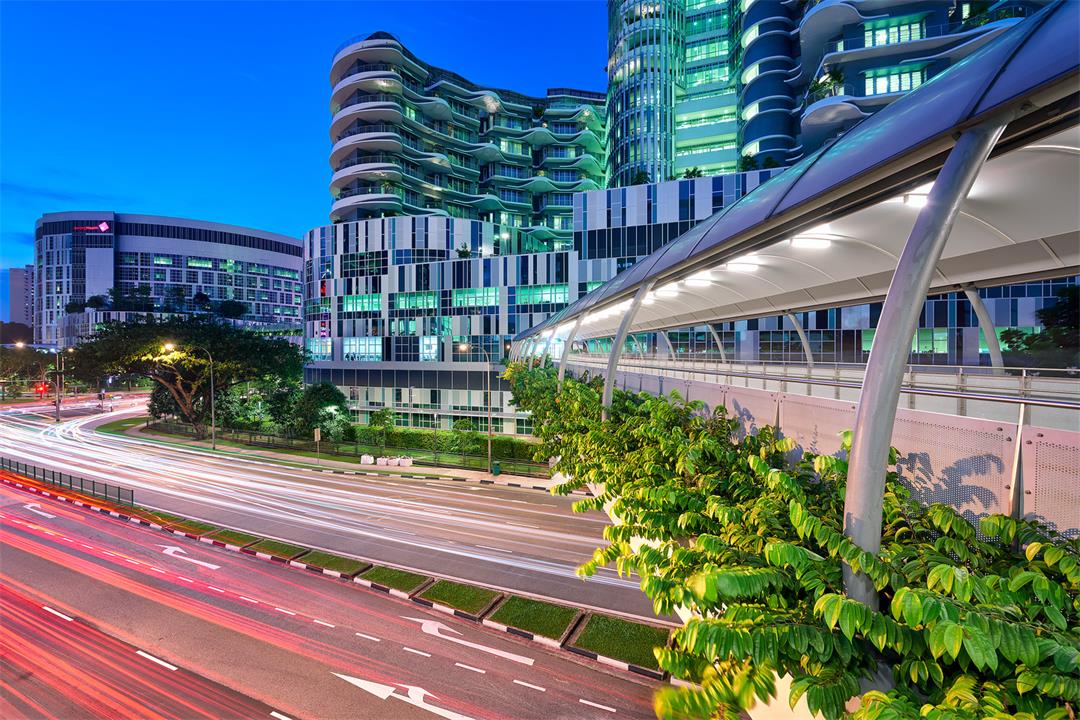
These shots were made with the Haida Clear Night, and post-processed for colour and contrast.
